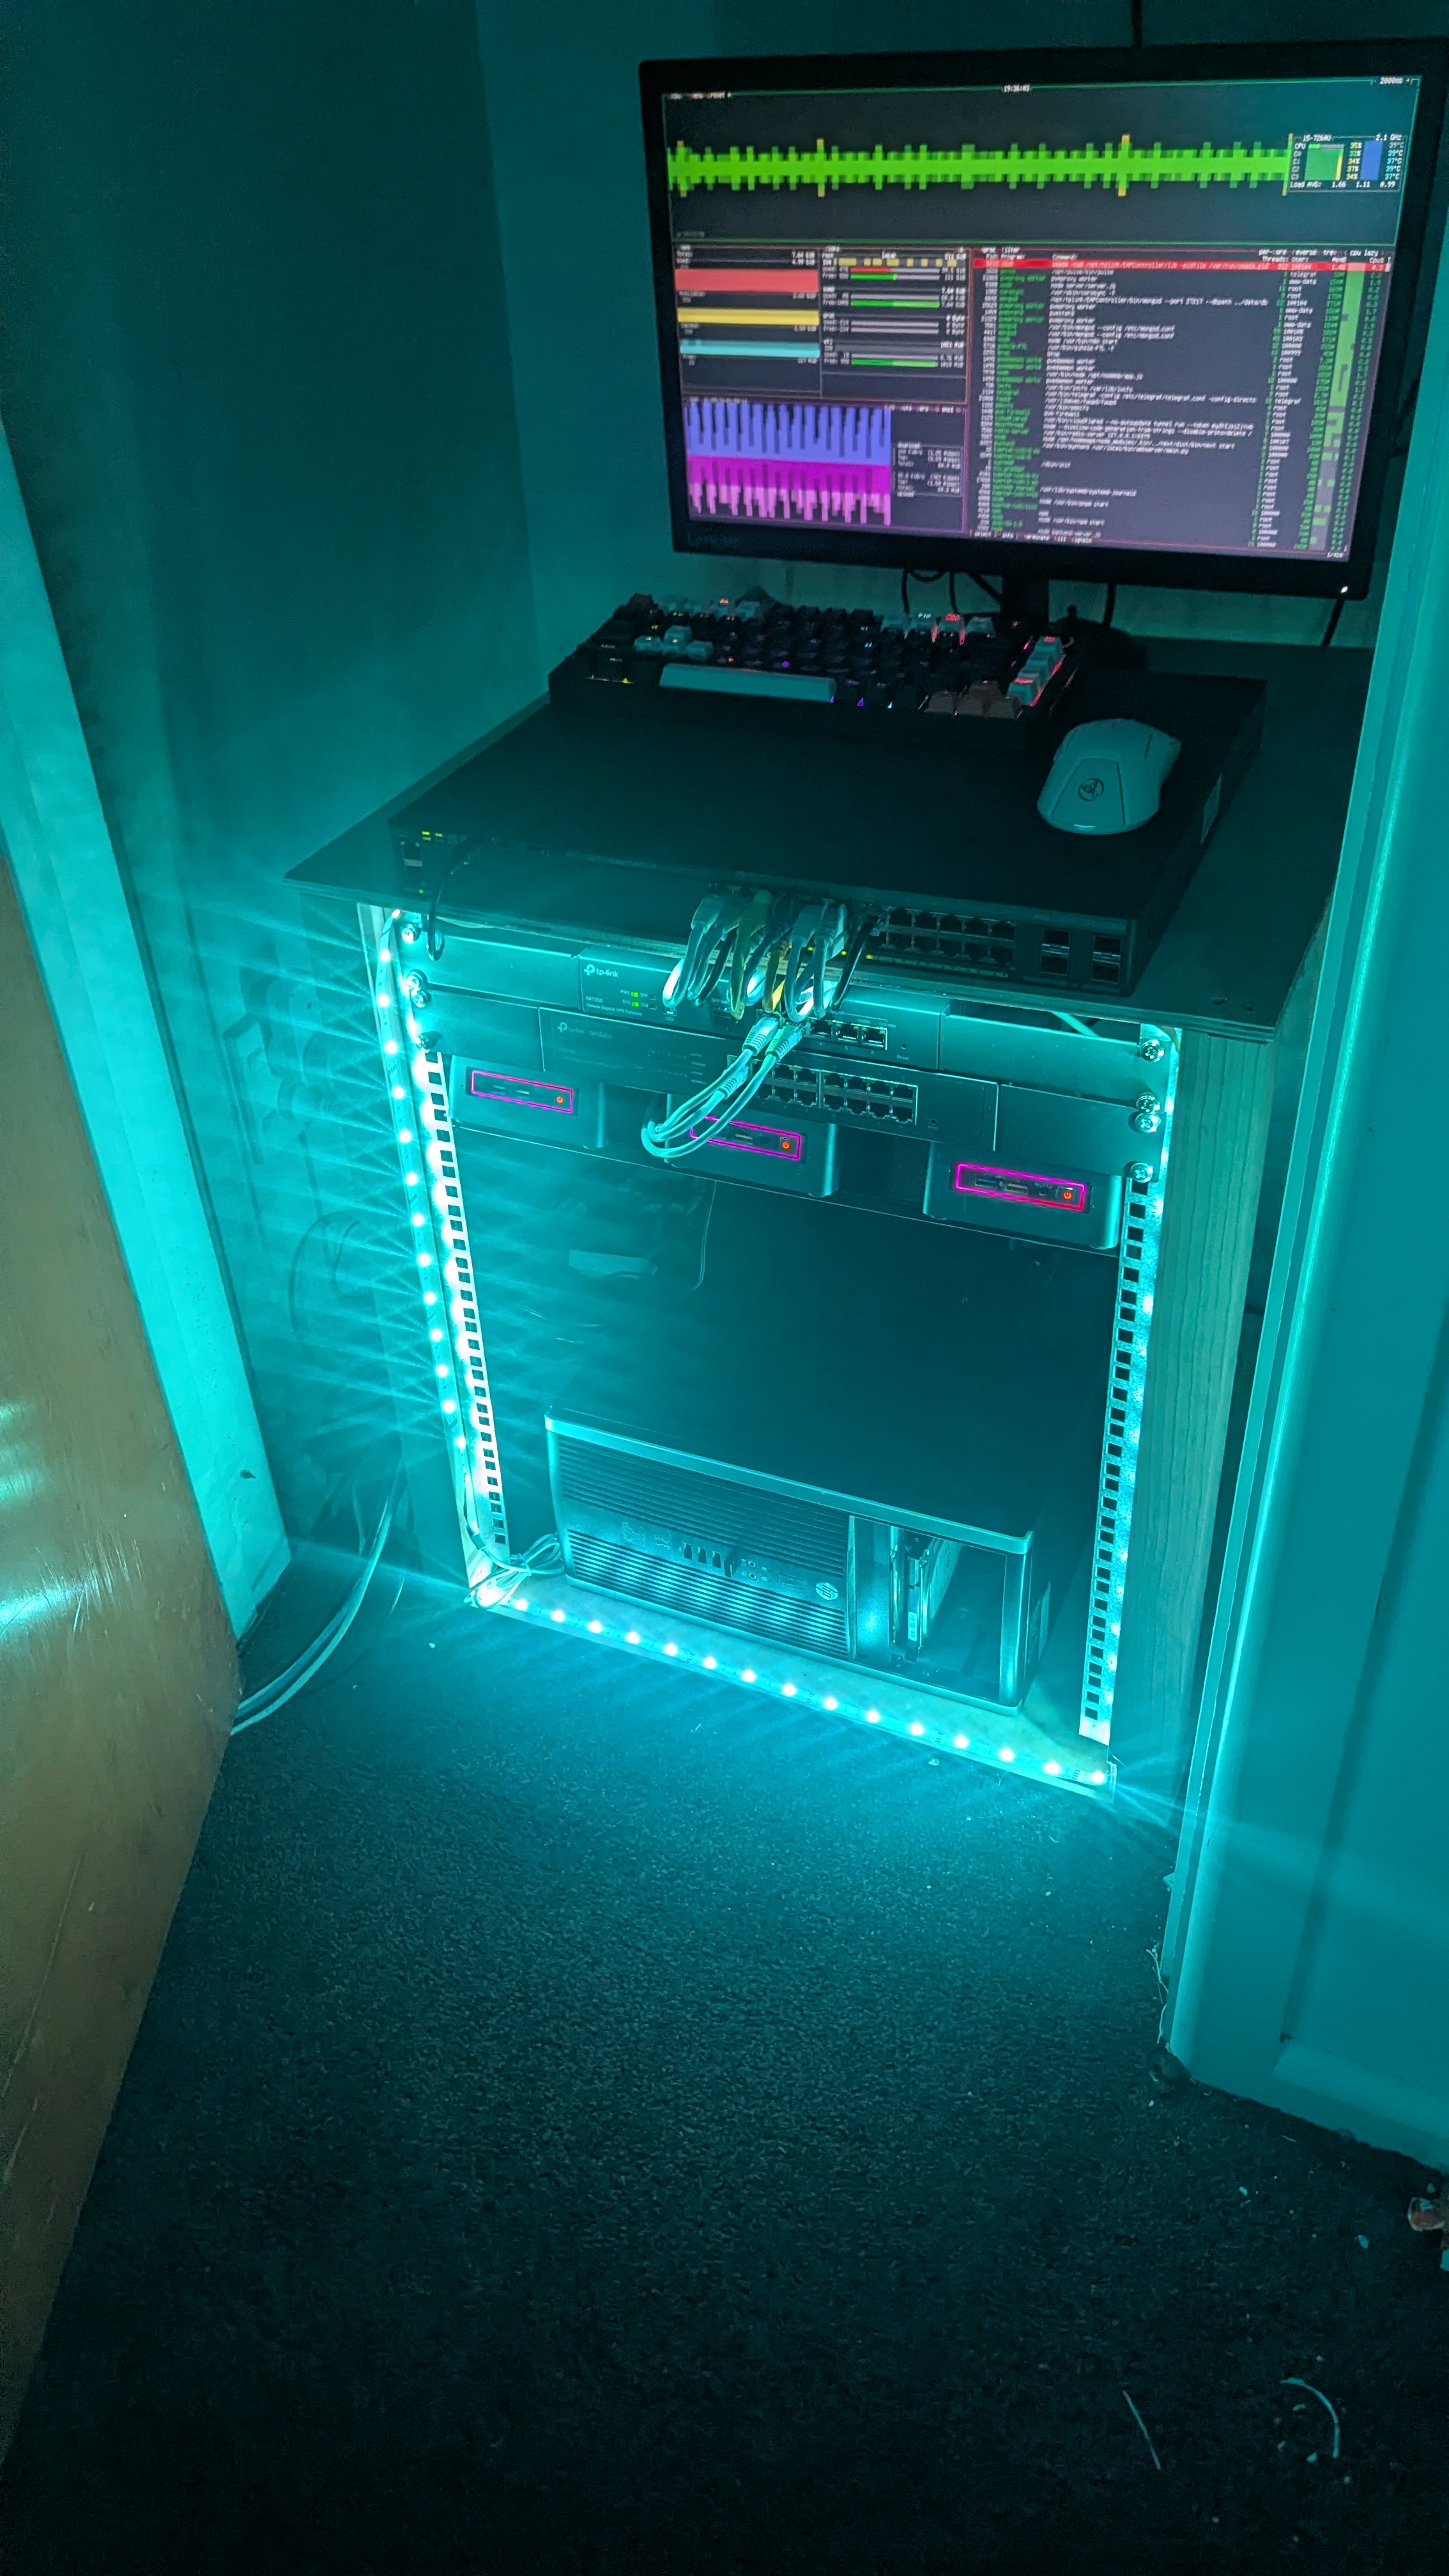
I built a custom server rack completely DIY!
If you saw my previous blogs, or even just read through this website, you would know that I have a homelab. Recently I bought a Cisco 2960X, and it was too large for my rack (400mm depth) so I needed to get a new one as it wasn't ideal having it sit on top of the rack and I had planned to buy more equipment (CURSE YOU RAM and SSD CRISIS!!!)
And on top of all of that, If I wanted a rack that could fit my current setup and future plans, I would have to spend more than 300USD!!! I cannot and do not want to spend money on something I can do myself. So I set off to my local hardware store and purchased 4 1.2M long pieces of wood and a top that would fit enough so I could cut it into half for a roof and floor/top and bottom.
Things you will need if you want to build one:
1. Wood Cutter (anything works really)
2. Four 1.2m long wood pieces that are fairly thick.
3. Ideally long thick pieces of tabletop wood to use as a top and bottom
4. Some screws.
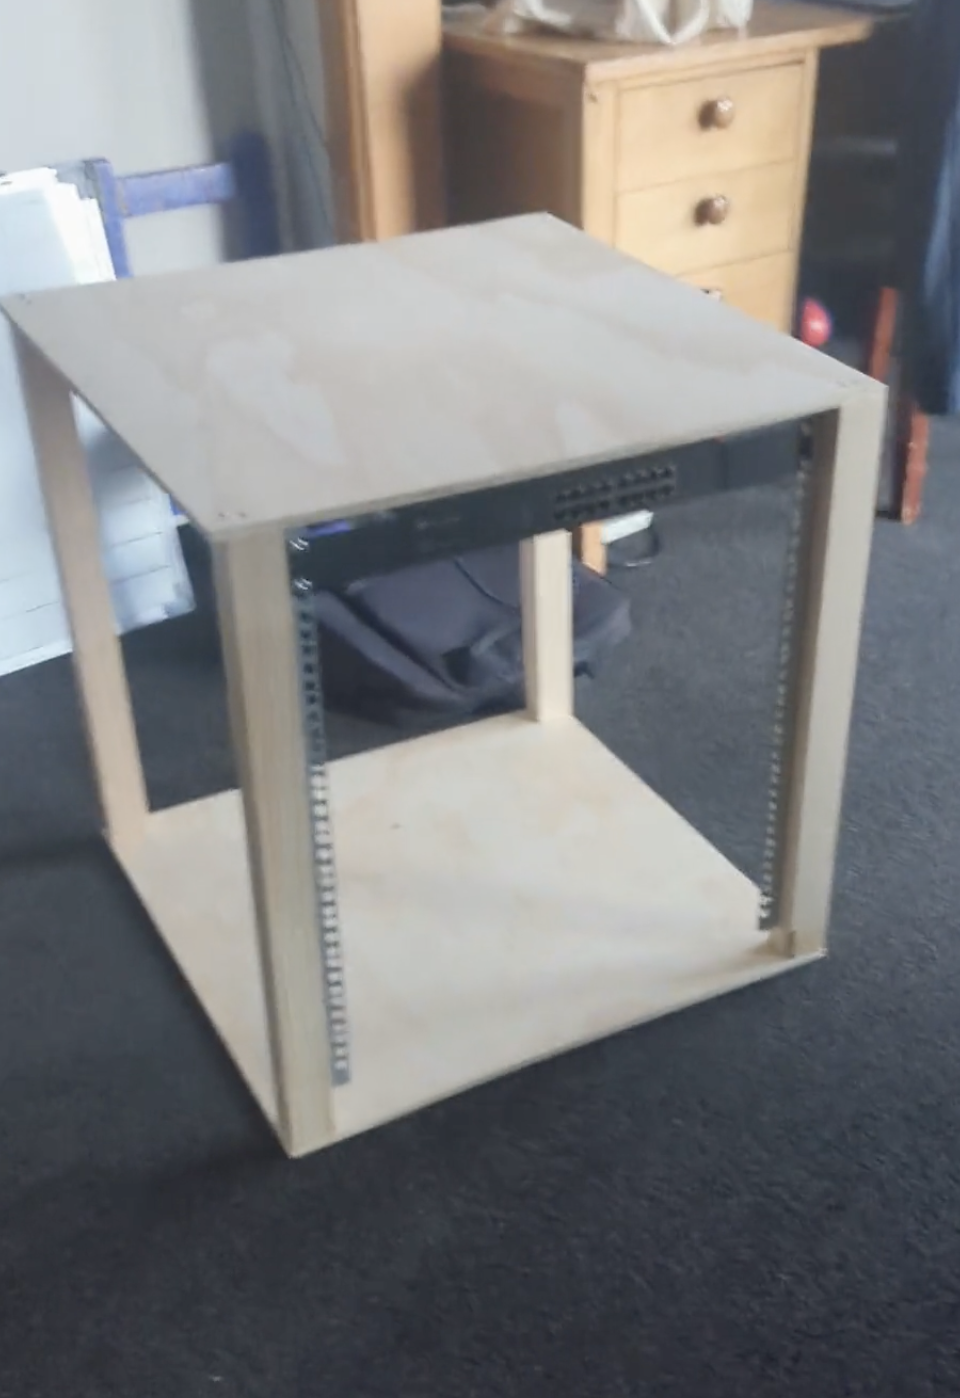
This only cost me about 50USD to buy instead of the 300! I got home and started doing some planning. Since I already had a rack and wasn't using the back ears, I took them off and used them for the front (as I won't be using the back ones yet) and cut the pieces of 1.2M wood down to 600mm (unless you are also using 12u you will need to find the right size for yours)
I put mine together by installing the rack posts onto two of the 600mm posts, and then putting another two on the back incase you need all the rack posts. Then once you have created a base part with the four posts, you want to positon them about 19 inches apart, now the exact dimensions are kinda unknown (atleast to me), so I grabbed an old switch I had that was rack mountable to get the right size, and then using that screwed the posts into the wood at the right length. Once you have done that, you are ready to put it all together!
Using the wood you have for the top and bottom, I cut mine into equalish halves so I could have them on the top and bottom, or you could get two pieces of wood, either works. Place the four posts on the bottom piece (or top piece, again either works) and screw the posts into the bottom/top. I recommend installing the top first because it is easier, as it is on top so that way you just have to position the posts underneath and then screw into them. Then install the back wood pieces, and then the bottom or top (depending on what you started with!)
And then you are done! One thing I noticed about mine is that it isn't the most stable, if I wiggle it it does move quite a bit, but it's not going to be moving much anyway, and it's been up for about a week now.
I would recommend following this guide from u/tiggerf117. His rack has been up for many years and still going strong, and he has way better/detailed instructions.
Thanks for reading my guide!